Navigating Breast Cancer-Related Lymphedema: Risk Factors, Early Signs, and Management
If you have undergone surgery or radiation for breast cancer, understanding lymphedema is an essential step in your recovery and long-term wellness. Lymphedema is a chronic condition characterized by swelling, usually in the arm, hand, breast, or chest wall post breast cancer treatment, caused by a buildup of lymph fluid.
While it can feel overwhelming to learn about another potential post-treatment complication, knowing your risk factors, recognizing early warning signs, and taking proactive management steps gives you control over your health.
Here is a comprehensive guide on what every patient should know about upper extremity (UE) lymphedema, how to protect your health, and when to seek care.
What Causes Lymphedema After Breast Cancer Treatment?
Your lymphatic system is a network of vessels and nodes that helps filter waste and drain excess tissue fluid. During breast cancer treatment, lymph nodes in the axilla (armpit) may be removed or damaged, interrupting the natural drainage pathway from your arm and chest.
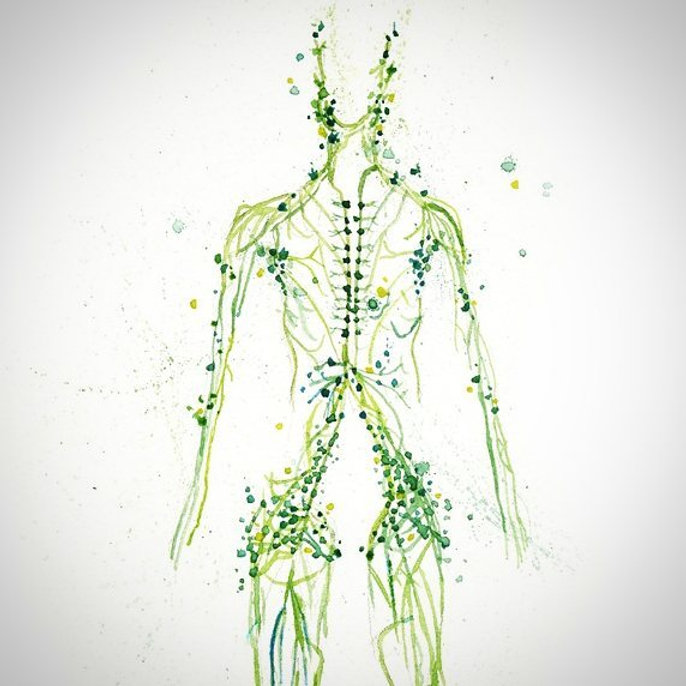
https://www.retrainhealth.com/post/the-lymphatic-system
Primary Risk Factors
- Axillary Lymph Node Dissection (ALND):
- Removing multiple lymph nodes significantly increases risk compared to a Sentinel Lymph Node Biopsy (SLNB).
- Radiation Therapy:
- Radiation to the axilla or chest wall can cause tissue fibrosis (scarring), which narrows lymphatic channels and impairs fluid flow.
- Mastectomy vs. Lumpectomy:
- Full mastectomy, especially combined with reconstruction or extensive tissue trauma, poses a higher baseline risk than lumpectomy alone.
- Infection or Injury:
- Any post-operative infection, seroma (fluid collection), or injury to the affected arm can stress the lymphatic system.
- Elevated Body Mass Index (BMI):
- Higher body weight increases baseline load on the lymphatic system and is a well-established risk factor.
- Taxane-Based Chemotherapy:
- Certain chemotherapies can contribute to systemic fluid retention or vascular changes.
Early Signs & Symptoms: What to Look Out For
Lymphedema often develops gradually—months or even years after treatment. Catching it in its earliest, reversible stages (Stage 0 or Stage 1) yields the best outcomes.
Key Rule: Pay attention to how your arm feels before you actually see obvious swelling.
Subtle Early Warning Signs
- Feeling of Heaviness or Fullness: Your arm, hand, or chest wall feels unusually heavy, tight, or tired by the end of the day.
- Tight Clothing or Jewelry: Rings, watchbands, or shirt sleeves feel noticeably tighter on the affected side.
- Changes in Skin Texture: The skin on your arm or hand feels tight, taut, or slightly firm to the touch.
- Reduced Flexibility: Less flexibility or stiffness in your shoulder, elbow, wrist, or fingers.
- Visual Swelling: Pitting swelling (an indentation remains after pressing on the skin) or visible puffiness on the back of the hand or near the inner arm.
Risk Reduction and Daily Symptom Management
While there are no proven, guaranteed ways to completely prevent lymphedema after breast cancer treatment, there are many evidence-based strategies to reduce your risk. Because surgery and radiation alter how fluid drains through your body, our goal shifts from absolute prevention to taking proactive steps that protect your arm and minimize potential triggers.
1. Protect Your Skin (Infection Prevention)
Infections like cellulitis are a major trigger for lymphedema. Because lymphatic drainage is compromised, your immune response in that arm is less effective.
- Moisturize Daily: Keep skin intact and hydrated to avoid cracking.
- Minimize Injections/Blood Draws: Whenever possible, request IVs, blood draws, and blood pressure checks on the non-affected arm.
- Treat Cuts Immediately: Wash scratches, insect bites, or burns with soap and water, apply antibiotic ointment, and cover with a bandage.
- Use Sunscreen & Insect Repellent: Protect the arm from sunburn and bug bites.
- Wear Gloves: Wear protective gloves while gardening, washing dishes, or handling pets.
2. Practice Gentle Movement & Exercise
Unlike your circulatory system, which has the heart, your lymphatic system doesn’t have a central pump. Instead, it relies on your muscles contracting, joint movement, and deep breathing to push lymph fluid upward through one-way valves. Because movement is what keeps fluid flowing, prolonged inactivity or staying stagnant leads to fluid pooling and increased tissue pressure.
- Pumping Movements: Perform gentle wrist circles, shoulder rolls, and elbow flexes daily to encourage lymph flow.
- Progressive Resistance Training: Safely partaking in resistance training under a physical therapist guidance helps pump fluid without overloading tissues.
- Deep Diaphragmatic Breathing: Deep belly breathing changes pressure in the chest cavity, stimulating the main lymphatic duct to pull fluid up from the arm.
*Good handout for UEs and upper body lymphatic drainage: https://www.mskcc.org/cancer-care/patient-education/exercises-for-lymph-drainage-arms-and-upper-body
3. Compression Therapy
- Wear a professionally fitted compression sleeve and glove/gauntlet if prescribed by your doctor, physical therapist, or Certified Lymphedema Therapist (CLT).
- When Air Traveling: Cabin pressure changes during flights can trigger or worsen swelling. Discuss wearing a preventative sleeve with your care team before flying.
4. Manual Lymphatic Drainage (MLD)
- MLD is a specialized, gentle form of bodywork that redirects lymph fluid away from blocked areas toward healthy lymph node basins.
- Ask your oncology physical therapist/ certified lymphedema therapist to teach you Self-MLD techniques you can do at home in 5 to 10 minutes each day.
When to Seek Care
Early intervention is critical. If you notice symptoms, do not adopt a “wait and see” approach.
Contact Your Health Care Provider If:
- You notice subtle changes in arm weight, tightness, or ring fit that last for more than 2–3 days.
- Your range of motion in your shoulder or arm decreases.
- You experience persistent tightness around your surgical scar or chest wall.
Contact Your Breast Surgeon or Doctor Immediately If:
- You show signs of infection (cellulitis):
- Fever over 100.4°F (38°C) or chills
- New or expanding redness, warmth, or red streaking on the arm, chest, or shoulder
- Sudden, rapid increase in swelling or pain
- You experience sudden pain, warmth, or swelling in your lower leg (signs of a blood clot/deep vein thrombosis).
How Specialized Physical Therapy Helps
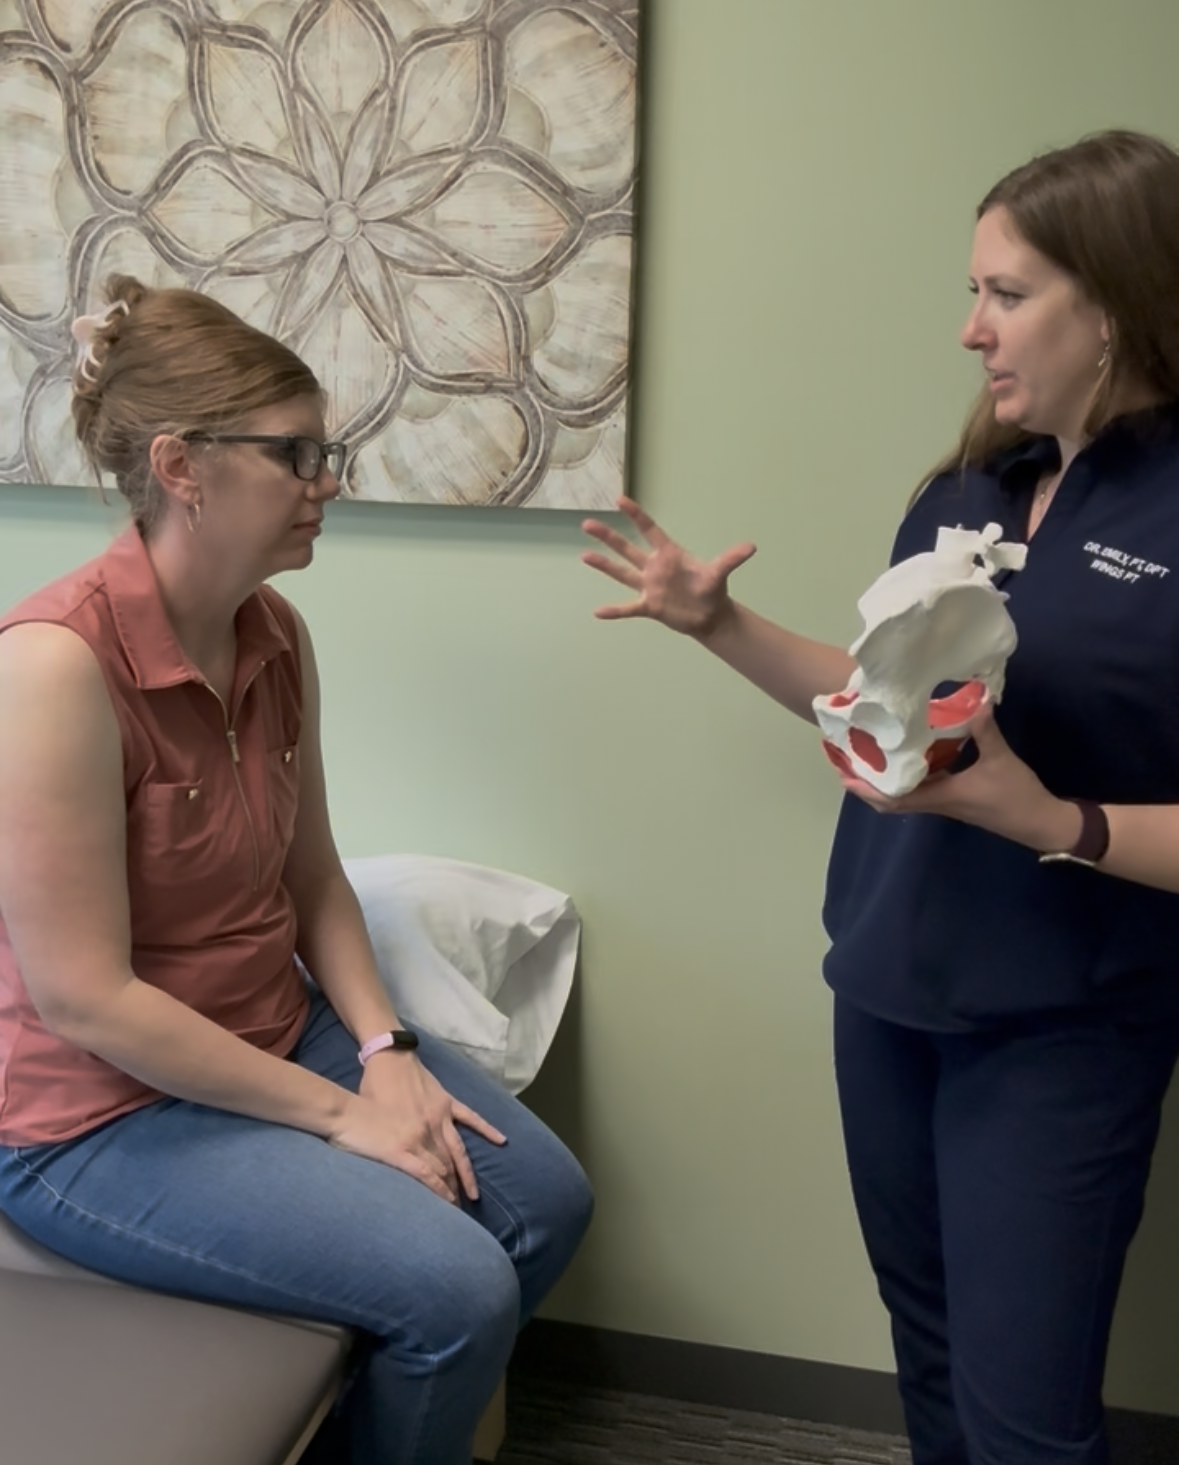
Physical therapy is a vital component of post-mastectomy and radiation recovery. A Certified Lymphedema Therapist (CLT) provides individualized care tailored to your medical/ surgical history and lifestyle
Local Resources & Garment Providers
At Wings Physical Therapy, our Certified Lymphedema Therapists (CLTs) at both our Rancho Cucamonga and Apple Valley clinics are here to evaluate, fit, and guide you through every step of your recovery.
To help you find specialized compression garments, supportive fitters, and local support networks across the Inland Empire and High Desert, here are several trusted regional resources:
Certified Compression & Post-Surgical Fitters
- Hanger Clinic (Prosthetics & Orthotics): Locations in Victorville, Rancho Cucamonga, and San Bernardino. Provides custom compression garments, post-mastectomy sleeves, and specialized orthotic fittings.
- Apple Valley Pharmacy & Medical Supplies (Apple Valley): Local provider for medical equipment, skin care supplies, and daily living aids in the High Desert.
- Rancho Pharmacy & Medical Supplies (Rancho Cucamonga): Offers over-the-counter compression wear, skin barrier creams, and post-surgical supplies.
- Nordstrom Lingerie & Post-Mastectomy Fitting (Rancho Cucamonga – Victoria Gardens): Certified fitters available by appointment for post-surgical bras, camisoles, and prostheses.
Breast Cancer Support Groups & Hospital Programs
- St. Mary Medical Center – Breast Care Center (Apple Valley): Offers local High Desert cancer support groups, nurse navigation, and patient education resources.
- City of Hope Inland Empire / Rancho Cucamonga (Rancho Cucamonga): Provides patient support programs, wellness classes, and specialized oncology navigation.
- San Antonio Regional Hospital – Women’s Breast Center (Upland / Rancho Cucamonga): Offers community support groups, peer mentoring, and post-treatment wellness resources.
Financial Assistance & Non-Profit Foundations
- The Lymphedema Advocacy Group / Lymphedema Treatment Act: National advocacy resource helping patients understand Medicare and private insurance coverage for compression garments.
- Cancer Federation / Local Inland Empire Charities: Provides regional assistance grants and support programs for cancer survivors undergoing rehab.